

 Salesforce community portal have been in use for long time, but was limited in offering pleasant features and specially custom configuration. To introduce as new feature, lot of additional works needs to be done, both from development and design perspective, which include using HTML, CSS and Javascript on top of Visualforce.
 Clearly powerful user-experience and clean user interface adds high user engagement. In person, we have spend weeks to leverage an impactful customer experience with Salesforce Communities
Salesforce introduced community designer and have fascinated me in person, I have been working on this platform for about three year, and I find this tool be very productive. I teamed up with +Harshit, and decided to write this blog post here explaining how to create google looking customized community portal with 'No-Code' by using Salesforce Community Designer Tool released in Winter'15.
To explain a functionality, I am choosing a business scenario, covering business activity in an financial institution, and covering mundane activities like resolving credit-card/loans issues. My objective is to explain this all with no-code, and just deal everything with 'Point and Click'.
Prerequisites
1) Let us set up a new developer org . spin up for an org from salesforce developers home
2) If you are not familiar with communities, we recommend reading this setup guide here .
3) Knowledge articles is the soul for this whole set up. Get some coffee and go to this setup video here
Navigate to Set up>Communities>All Communities
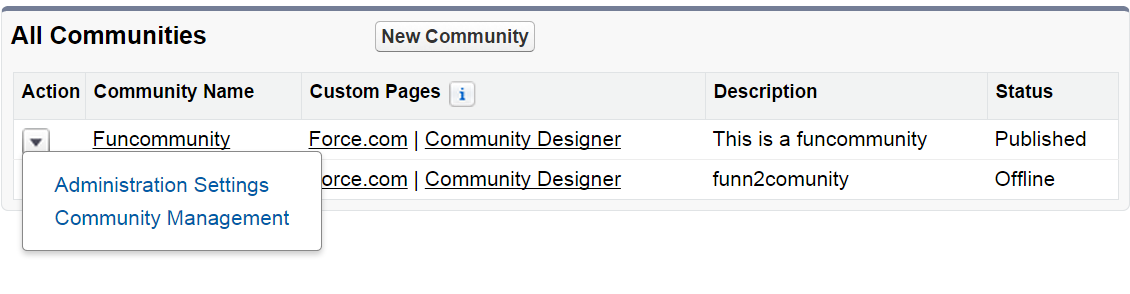
Note : As shown in picture above, two new additional setting are introduced as ‘Administration Settings’ and ‘Community Management’
Salesforce Community Templates
Primarily, three important templates available to jump start, but I would like to share the amenities, each templates offer, and make choice easier for you.

1) Kokua - Uses data categories, case and Salesforce Knowledge.
2) Koa- Designed for Mobile, features include, articles search and case management.
3) Napili- Offer most features, with Q&A, Knowledge Articles and Case Support. Clearly, I’ll use this template moving forward
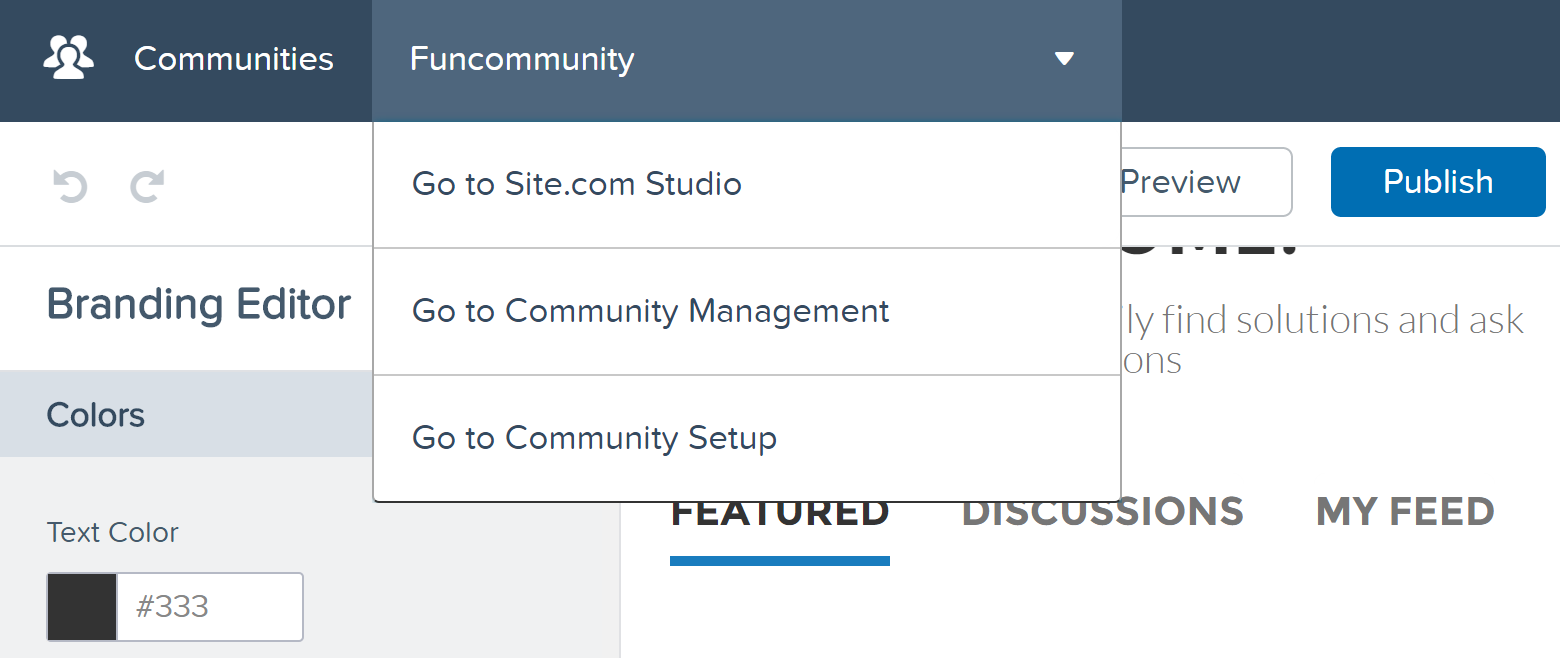
Pickup template of your choice, In here, I have created a community named ‘FunCommunity’ as you can see in drop-down,
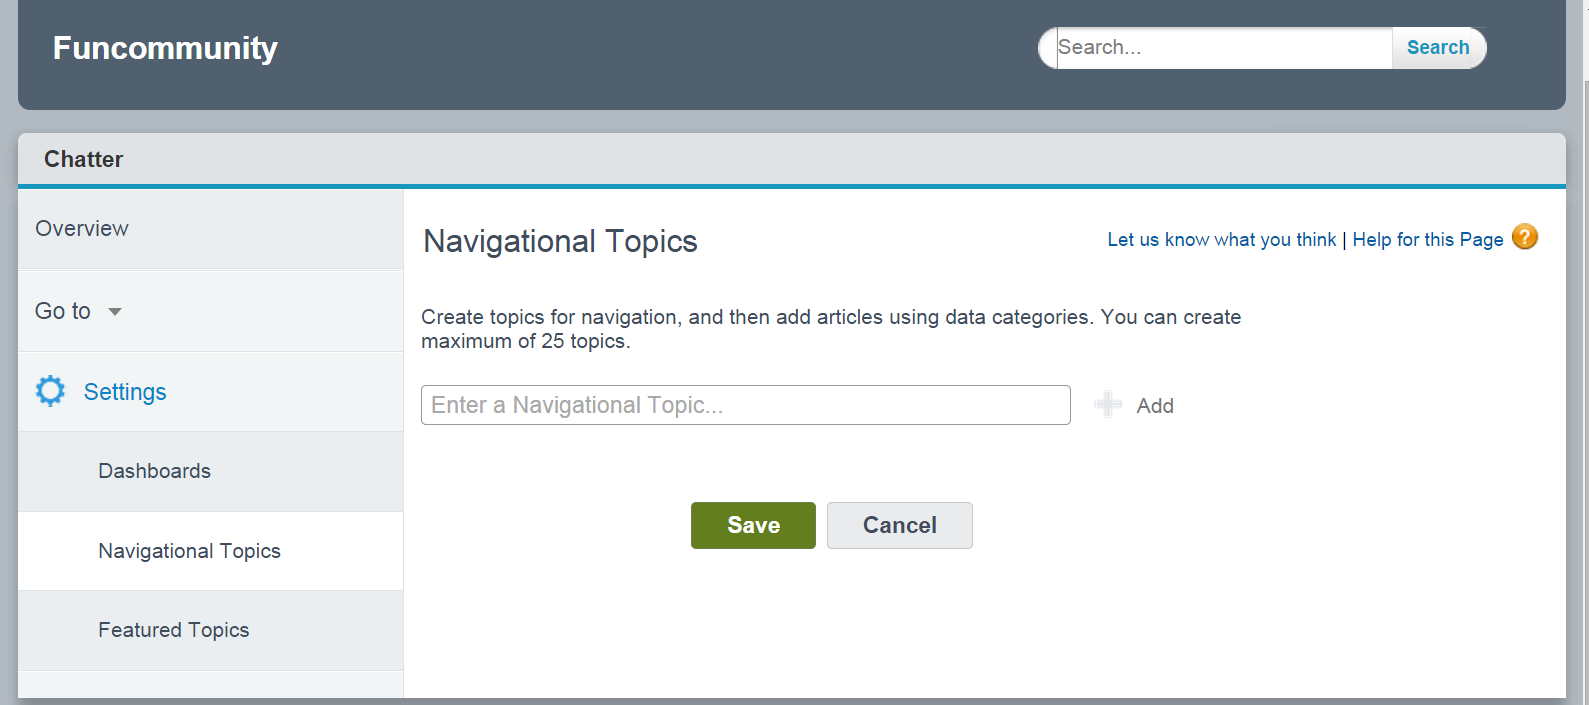
Setup Navigational Topics
Got to Community Setup shown as above and you will see salesforce settings screen similar toone shown below
Bind Topics
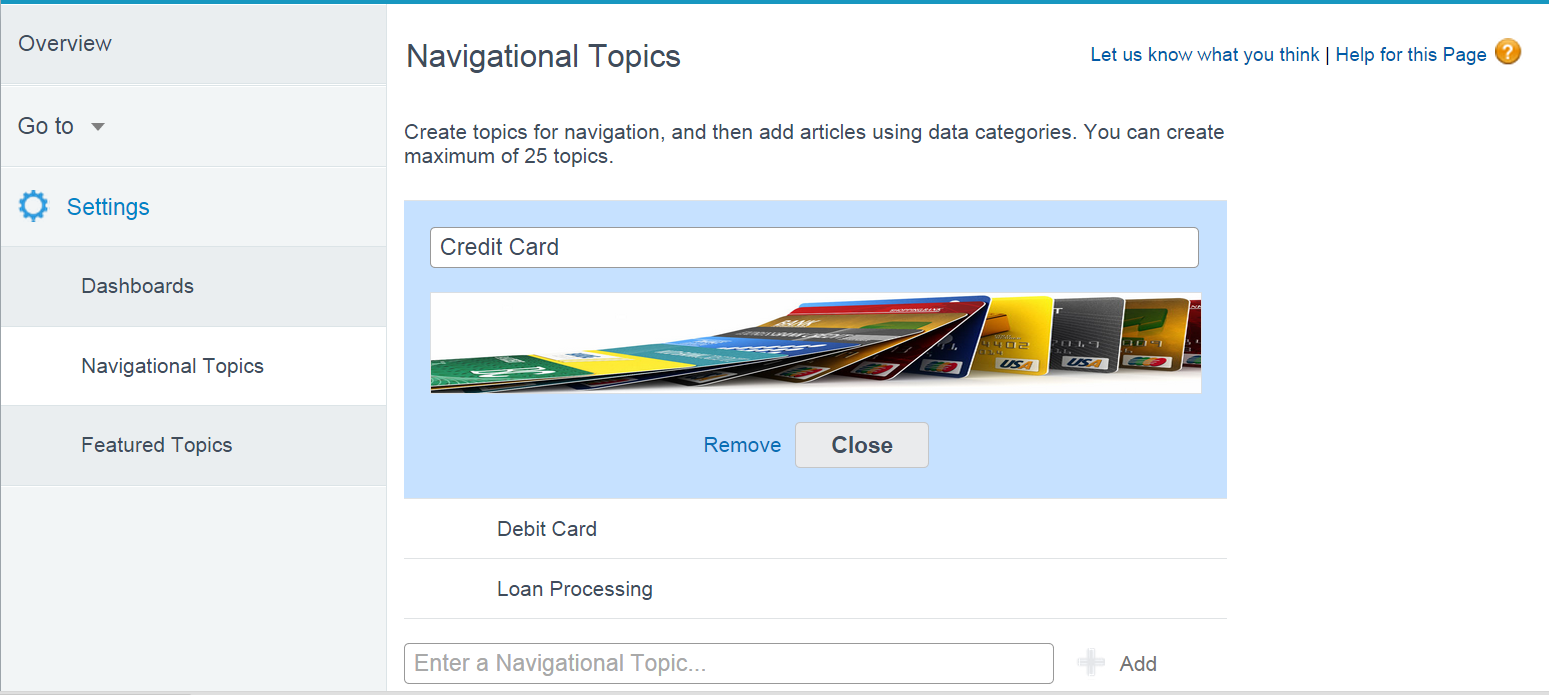
Go to (Setup -> Topics -> Topics for Objects) to bind topics to every knowledge article. Clearly, this make it easier to locate or navigate in the communityScreen shot below explains, how to add banner images for each topic. I have created three topics for here to demonstrate, Credit Card, Debit Card and Loan Processing
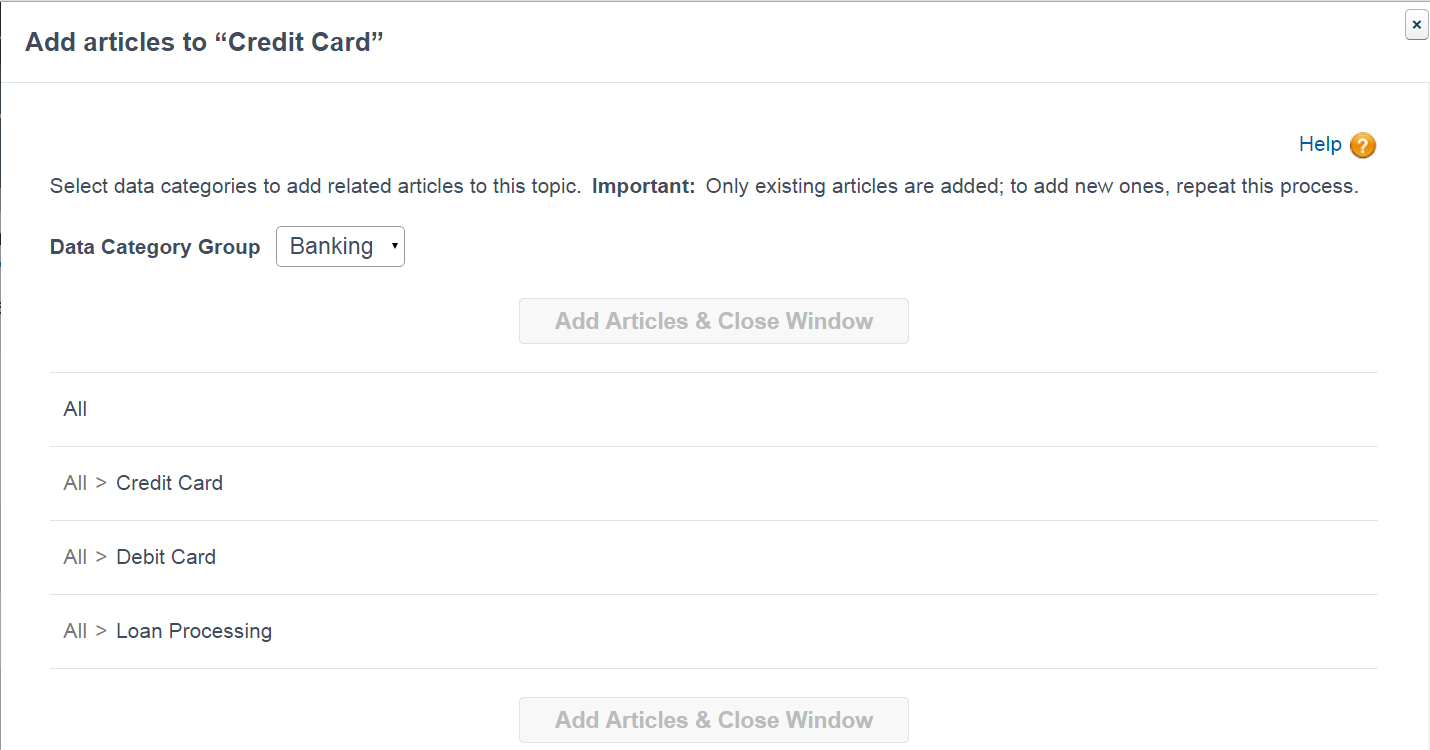
Assign Data Category
Locate arrow on top-right, to assign data-category for each topic, in the picture below
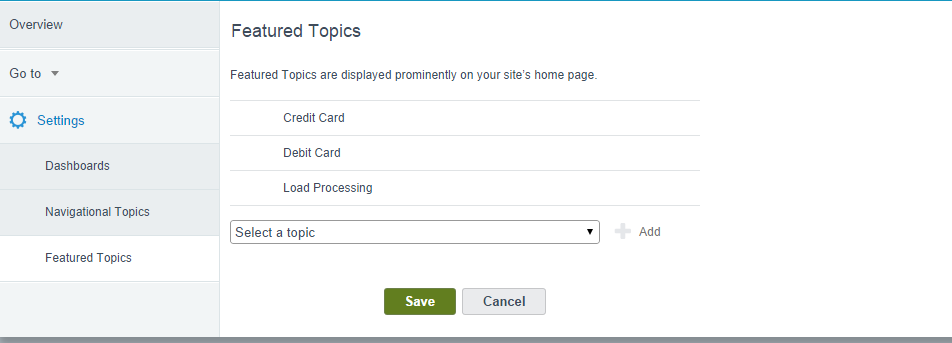
Featured Topics
Every featured topics, pop as thumbnail on homepage, add feature topics here
Video Summary
With that said, community is configured and in shape, this has all done with 'no-code' involved. I have compiled these steps in a video below and discussed some more feature(s). Feel free to provide us feedback and share your knowledge with us.About the Author
I have worked with +Mohit Srivastav while writing our last post on Angular Js with Salesforce, after Winter'15 Salesforce release, he decided write another blog post here and connected with me to coordinate resources and I would like to thank him for taking time out of his schedule and like to congratulate for winning 'Summer of Hacks in India', follow him on his blog 'CloudyWorlds'
0 comments:
Post a Comment